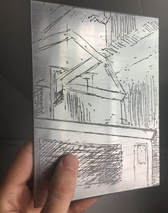
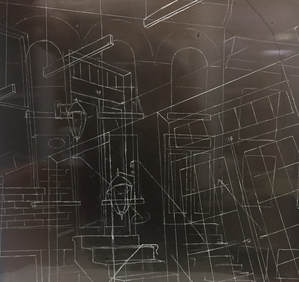
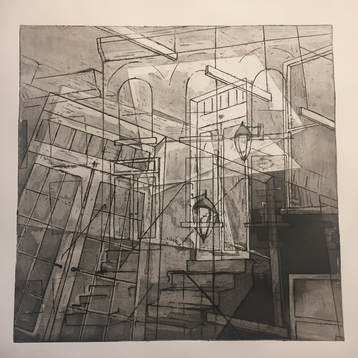
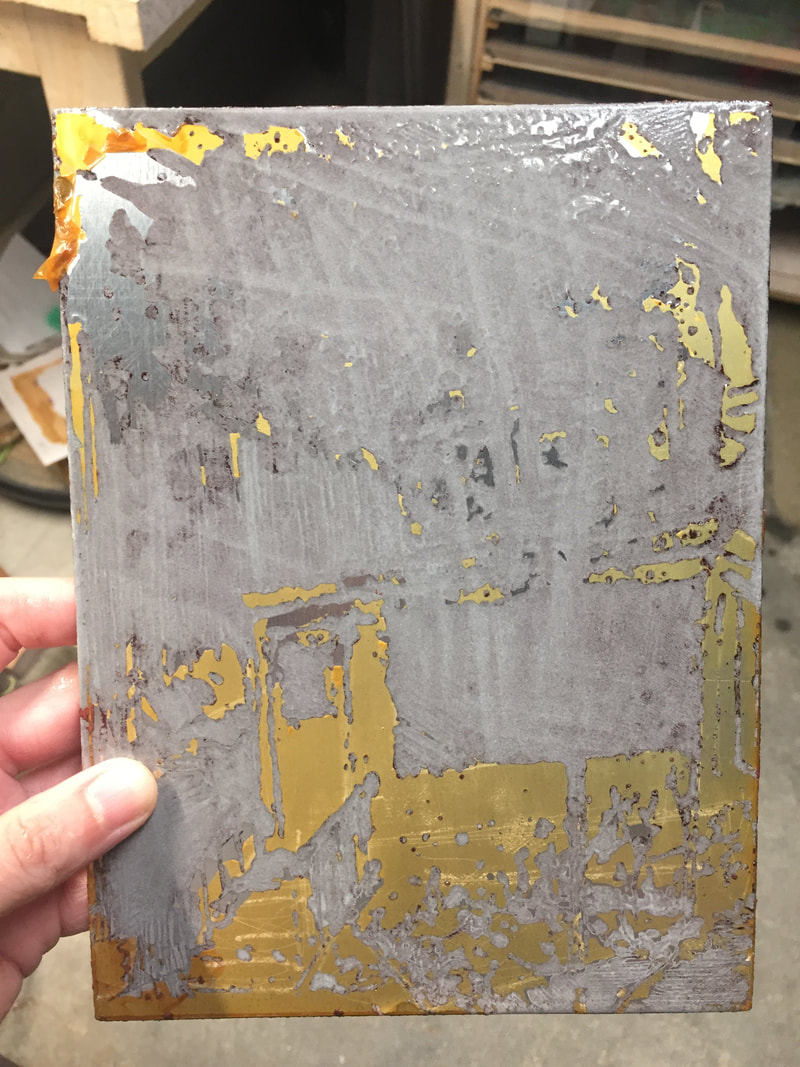
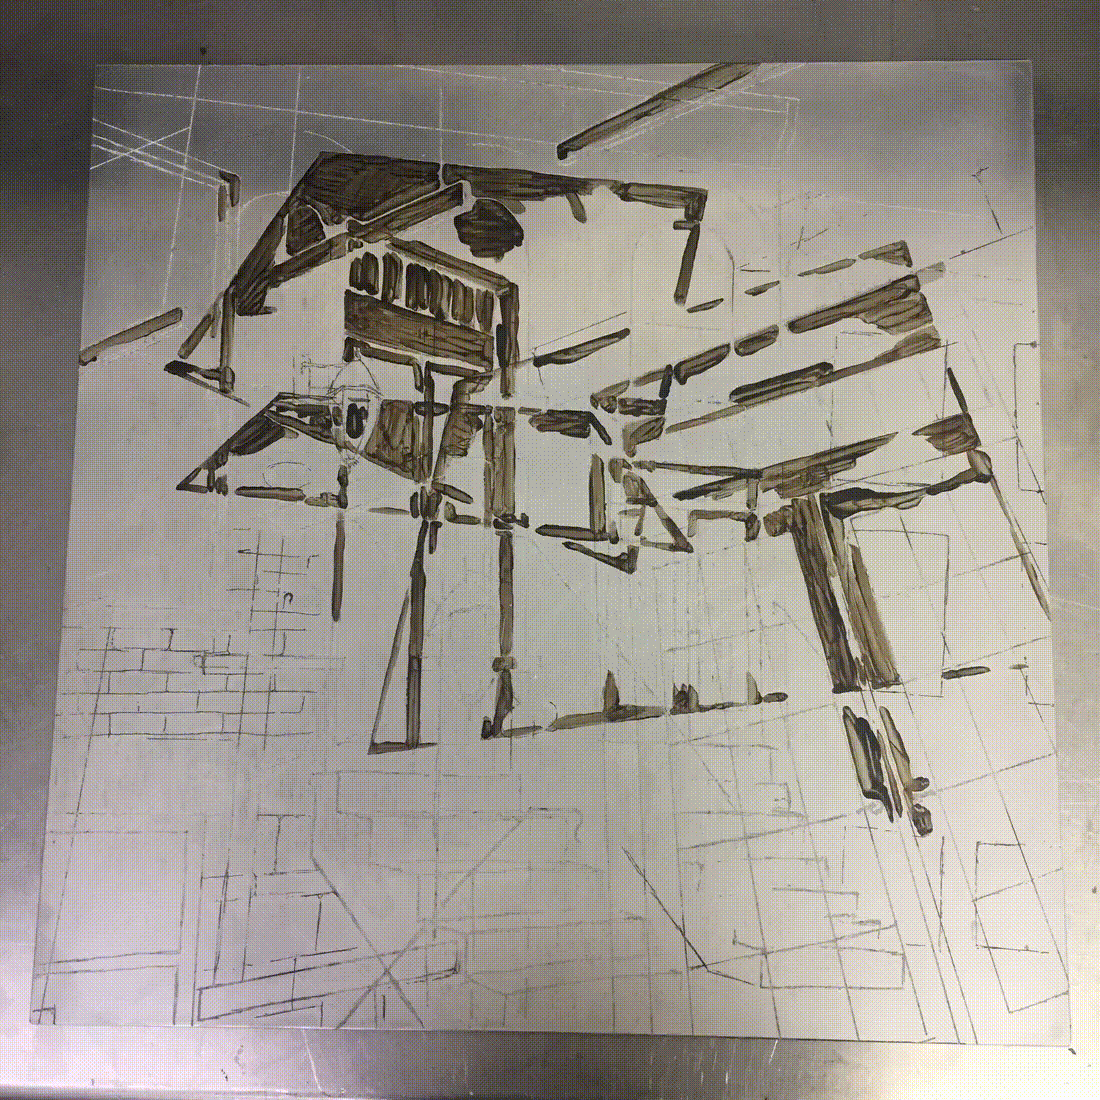
 A test plate with lines etched using an acrylic hardground A test plate with lines etched using an acrylic hardground This spring I was fortunate to receive a grant through the Arts Center of the Capital Region's Decentralization re-grant program, and it has led to a lot of experimentation that I think might be helpful to other printmakers out there! I'm very excited about the project's early phases and I thought I'd share some of what I've learned so far about etching aluminum plates. I did a lot of research before deciding that aluminum was the right choice of materials for the project, but I was still surprised by some of the issues that popped up - the main one being the need for an effective yet easy to remove acid resist or etch resist, known as a hardground.  One of my etched aluminum plates featuring both an intaglio line etch and an aquatint-style etch. One of my etched aluminum plates featuring both an intaglio line etch and an aquatint-style etch. Before we get into the topic of hardground, it is important to know that I am using aluminum plates and a copper sulfate etch. This etch is only recommended for silver-toned metals: aluminum, zinc, and steel. The argument for aluminum was strong given the context of the small editions I'd be printing and the size that I wanted to work. Aluminum is not as durable as zinc, meaning a limited number of prints can be made before quality deteriorates, but for a given size plate zinc costs nearly three times as much as aluminum. Another mark in favor of aluminum is the fact that any open bite is self-aquatinting, allowing for watercolor like areas of value. In order to get the same effect in zinc, one needs access to rosin (a hazardous substance if inhaled) and a hot plate. The copper sulfate etch I am using was studied and published by artist Nik Semenoff and chemist L.W. Bader, and is far safer than a traditional etch using nitric acid. While not harmless (the solution does etch metal after all), the etch contains ingredients that were affordable and convenient. Semenoff and Bader detail the science behind the process, as well as how to revive or dispose of spent etch in their 1998 article "Intaglio Etching on Aluminum and Zinc Using an Improved Mordant.” To hear more about the approaches I tried and their results, continue reading below. 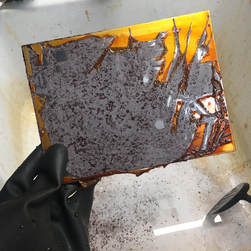 The first hardground I tried was a product by D&S called BioLac. It was marketed as a replacement for traditional asphaltum-based hardgrounds and sounded like it would be pretty straightforward to work with. Sadly, not so. After just a few minutes in the etch, the coating would start to come off or foul bite.
 Acrylic was my next hopeful choice for an acid resist coating - I'd read about people getting results with a mixture of floor polish, acrylic pouring medium, and water as described here. The ingredients were inexpensive and the first test of a line etch went well with no foul biting. I found that I could add a few drops of india ink to make the coating visible and easier to draw lines in, and it didn't compromise the performance. 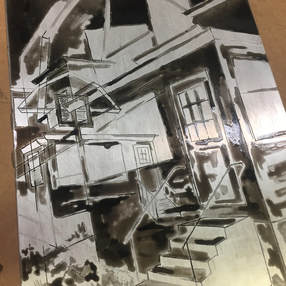 But... each of the two coats (or in the case of aquatint, several applications) needed to dry about 8-12 hours to allow for crisp lines, and removing the acrylic ground was a whole nightmarish process. Soda ash in water will strip the acrylic grounds off with a bit of time, but leave it in too long and it will actually etch the aluminum a bit wherever the hardground is off. The real fun starts when trying to strip areas that have been stopped out in the aquatint process - the etched texture on the plate acts like super-velcro and the acrylic takes a lot of work to get rid of.
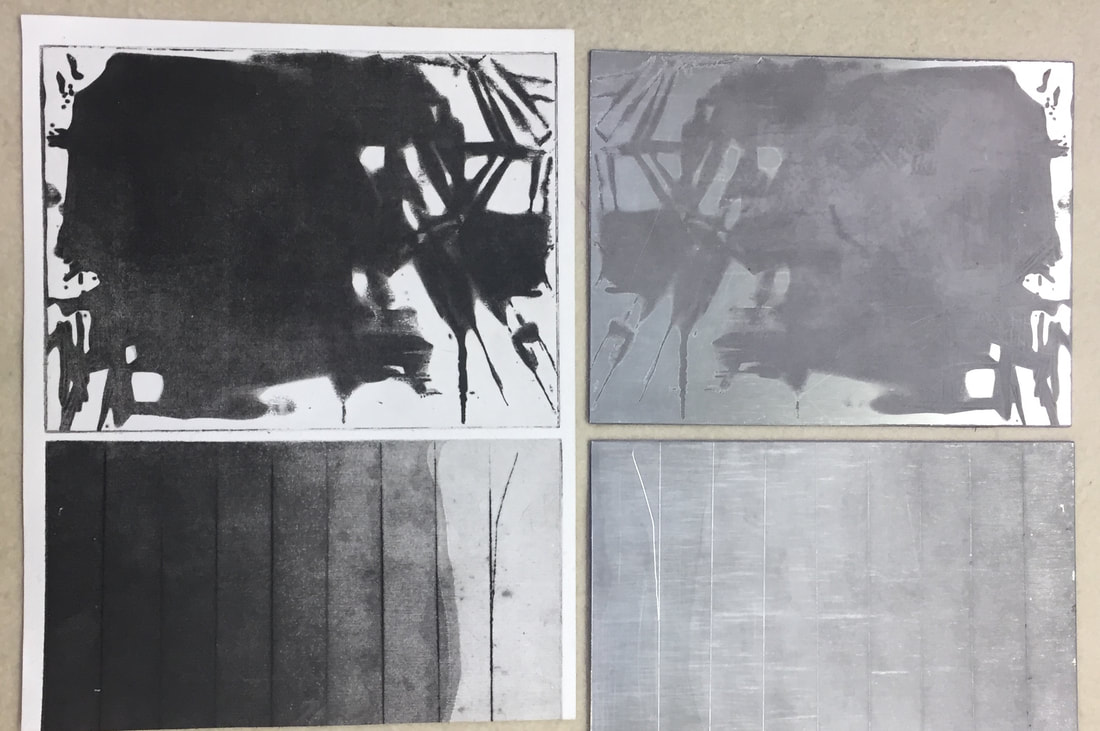
 At the end of all the test plates, here is what worked best for me: 1. Polish the plate using Never Dull wadding polish. Thoroughly wipe. 2. Clean the plate twice using Bar Keeper's Friend and a bit of water. Degrease with Soy sauce and Bon Ami. Clean once more with BKF. The water should run smooth over the surface of the plate when you rinse - check all the edges for any spots that bead up, and if they do, use more BKF. 3. Apply hardground. There is a window of about a day when the ground is dry and when it becomes too dry and brittle, chipping when lines are drawn in. Draw your lines. 4. Line etch. With the etch containing 1 kg copper sulfate, 300 g sodium chloride (table salt), 25 grams sodium bisulfate, and about 15 liters of water, a good line etch takes me about 30 minutes of etching. I usually etch for about 15 minutes, then stop out my detail lines or the things I want to be lighter, and etch for another 15. 5. Strip in mineral spirits, then clean/degrease plate. 6. Aquatint. I start by stopping out any white areas, and etch for 10-30 seconds per step. I do give the plate a quick wash with BKF before stopping out the next layer. The Irving Street plate had seven "stops" and about 2:40 total etch in the shadows. 7. Strip again, clean, then print!!! If you have any questions please don't hesitate to reach out! Sometimes it can be hard to find information about printmaking processes, and there were definitely times I wished I could talk to the writers of a few articles. For those of you looking into this, a few sources I would suggest would be the article about copper sulfate etching on aluminum by Semenoff and Bader, these notes on etching aluminum on nontoxicprint.com. For information about acrylic resists try nontoxicprintmaking.co.nz, as well as the article by Graver and Furstman that they reference.
11 Comments
12/21/2019 05:00:48 am
Hi Katherine, great article. Thank you very much. I'm a retired Methodist minister with a beginner's interest in print-making. I'm trying BIG soft/hard ground. The hard is got by heating the soft ground on the plate for about 6 mins at 135 degrees C. This makes for an easy one step process. Tried a few aluminium plates but getting some foul-bites. Any suggestions, eg have you used Lascoux hard and soft grounds? Thanks. Regards
Katherine
12/22/2019 09:16:39 am
Hey David! I haven't used BIG or Lascaux - just the diy acrylic ground and the D&S before ultimately using traditional hard ground. When I was having issues with the D&S, the folks at the company were super helpful with trouble shooting; one of their big suggestions was making sure the plate was properly prepared before applying hardground. The D&S ultimately never worked for me, but without having used the BIG ground my first suggestion would be to make sure you're degreasing the plate enough/correctly, and then contact them for help troubleshooting.
David Bell
12/28/2019 04:36:08 am
BIG is made by Andrew Baldwin of http://www.printmakingstudio.co.uk/andrew-baldwin-prints/
Hi i am trying to get more details on how to polish the aluminium plate. I've just unpacked them and have lightly polished with brasso twice and Ajaxed(cream cleaned) between but I'm unsure if it's even done anything .
David Bell
3/5/2021 05:06:36 am
Hi Anelia, don't use aluminium plates at present, but it's the same process with copper and zinc. It sounds as if you are thoroughly degreasing. The easy test is to hold the plate under running water and if it easily falls off without making ponds at the edges the plate is degreased. The aim is to get the water just running smoothly off from all angles. Try it...it's easy. Good luck! Be interested in other answers too.
Katherine
3/5/2021 05:57:37 pm
Hi Anelia, 6/4/2021 04:37:08 pm
Hi there, thank you for your insights. I never seem to get clean lines when I use aluminium, they seem slightly frayed and uneven within the width of the etched line. Also, it never seems very deep without getting a fowl bite, although the acid is getting under the ground slightly. What am I doing wrong?
Katherine
6/6/2021 11:41:40 am
Hi Linda, 6/7/2021 02:59:32 pm
Hi Katherine and Linda, this comment about finding the right ground for aluminium plates makes a lot of sense because the nature of the metal means a different kind of "output" reaction compared to zinc or copper. Since I began electro-etching using copper sulphate solution only - as a green way of getting intaglio plates - I've discovered how critical getting the ground down is to the etching process. Aluminium plates are great for relative cost, but the copper sulphates/salt etching solution has some very toxic byproducts. Once again, it's a delight exploring Katherine's essay. 7/9/2021 10:03:16 am
Thank you so much for the article. I just asked a fellow CSP member about aluminum and Bob Rocco sent me your link. I do many kinds of printmaking and I look forward to trying aluminum.
John fisk
11/13/2022 07:07:05 pm
I have not tried it with etching but my first instinct for polishing an aluminium plate is to reach for Sovol Autosol aluminium polish. Leave a Reply. |

Katherine ChwazikArtist. Art Teacher. Smallbany Gallery. © Katherine Chwazik 2024, All Rights Reserved
Archives
July 2020
|
 RSS Feed